 Make A Quilt
Quilting is not the difficult craft that so many believe it to be!
Anyone can learn a few basics and make their first quilt in a very short amount of time.
For the sake of this short tutorial, we are creating the quilt "Gentlemen's Quarters" from
McCall's Quilting.
To begin, make the necessary fabric purchases (the directions on the site will tell you
exactly what to purchase, I always purchase a bit more just to be sure I have enough).
ALWAYS purchase quality, 100% cotton fabric.
Wash and dry your fabric. Many people make the mistake of skipping this step thinking
that it really is not as important as it really is.
What happens to a quilt that has not been washed first? When you do finally wash your
finished quilt, you are running the risk of the fabric shrinking and pulling your seams out.
Believe me, it can happen, I've seen it before!
Iron all of your fabric and fold it neatly.
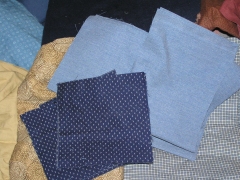
Begin the cutting process. I use a rotary cutter and mat because I think it's easier and
faster that individually cutting pieces. It's O.K. to cut them out by hand if you have no
other choice. For quilting, you want to choose a larger rotary blade for your cutter and a larger
cutting mat because some of the pieces that you will be cutting will be fairly large.
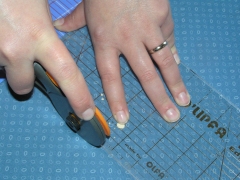
This picture is an illustration of the cutting process. If you can, don't be afraid to cut
out multiple pieces of the same size at one time. It's normal for me to cut out 5 or more
squares at one time when I'm making a quilt like this one.
Once you've cut all your pieces, you are ready to begin sewing.
The instructions will tell you all you need to know for this process.
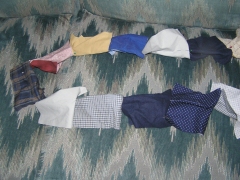
As you can see, I've printed, and mapped out my quilt top.

Pin each of the squares together into long strips and begin to sew them together. This
can be time consuming, but take your time to make sure to have straight and neat seams.
Seam allowances (the distance from the edge of the quilt fabric to the seam that you are
stitching) are always 1/4" on quilt tops unless otherwise noted on the instructions.
As you sew, the squares become strips and the strips become bigger quilt blocks.

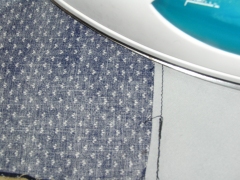
Ironing is VERY important, even in this stage, to how a quilt will turn out. You can almost
always tell when someone has ironed every step of the way rather than just stitching without
pressing seams. The pressed quilt tops just turn out neat with even stitching and seams.
When pressing the back of quilt squares, always press towards the dark fabric. If not, once
the quilt is finished, you will be able to see the darker fabric through the top of your lighter
fabrics.
A quilt like this will have a lot of seams to match. This is probably one of the harder things
to do in quilting but not if you use this simple technique.
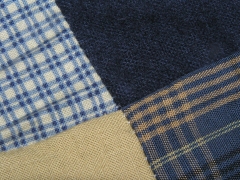
Iron the seam allowances in separate directions...and nudge them against each other. You should
be able to tell from the edge whether or not the seams are flush.

This is so important. If you skip lining these seams up, your quilt will have corners and
seams that don't match. Here is a good example of one that wasn't quite in place when I stitched
it:
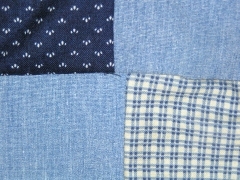
These are correctly matched and sewn seams:
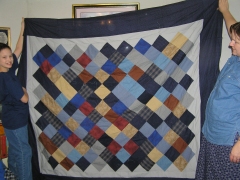
Continue to follow the directions until you have stitched the blocks together into strips, the
strips into larger blocks and then sewn on the borders.
This is what the finished quilt top will look like:
Over the next few weeks, we'll work on "sandwiching" the quilt and hand quilting it. In the
next few months, we're going to work on a different style quilt, and I'll teach you some tricks
and tips for choosing fabrics!
Tracy